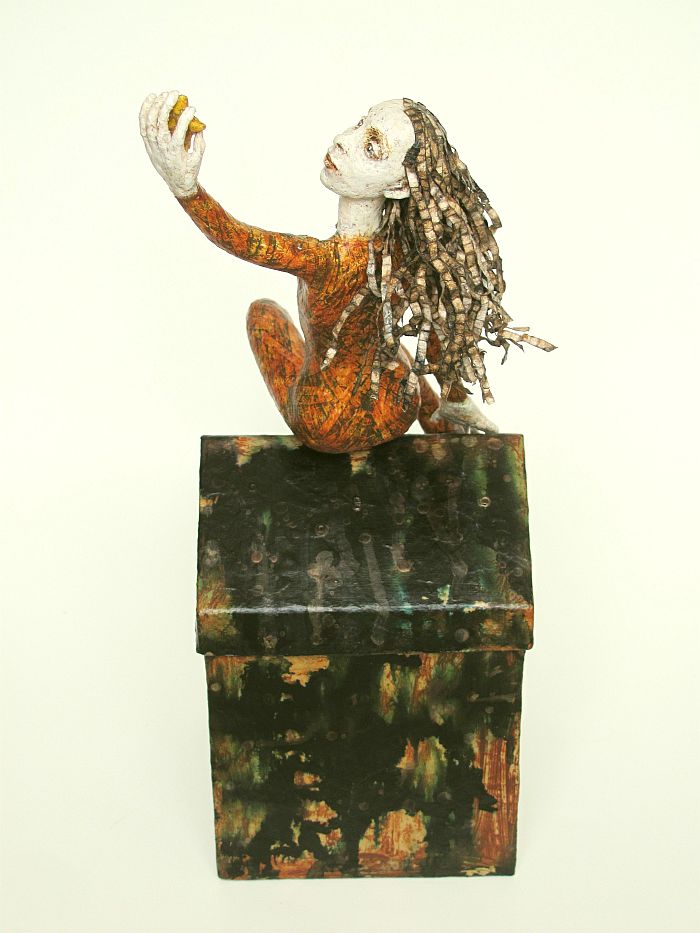
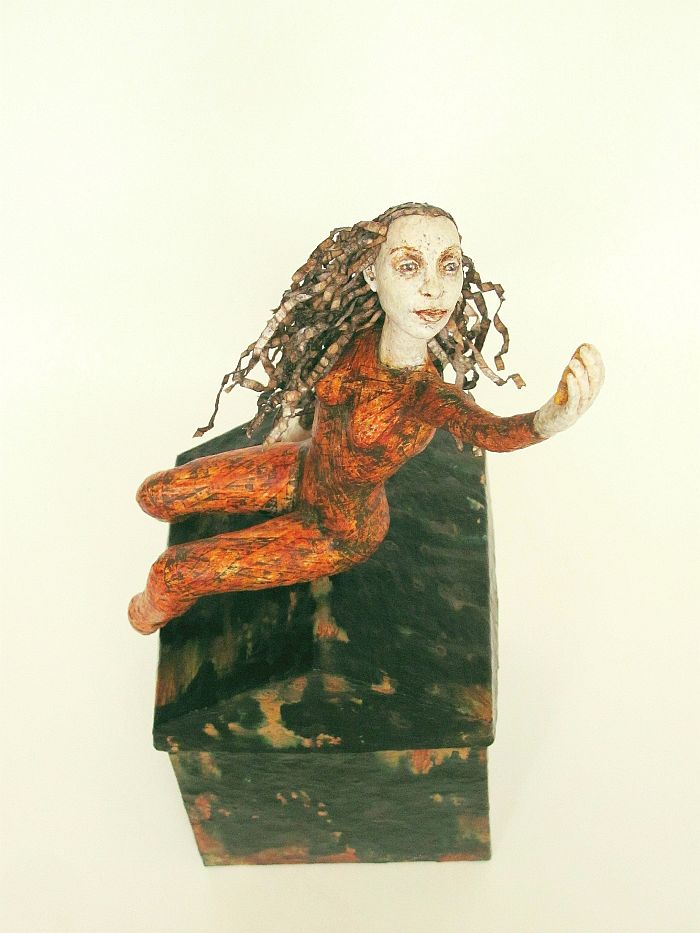
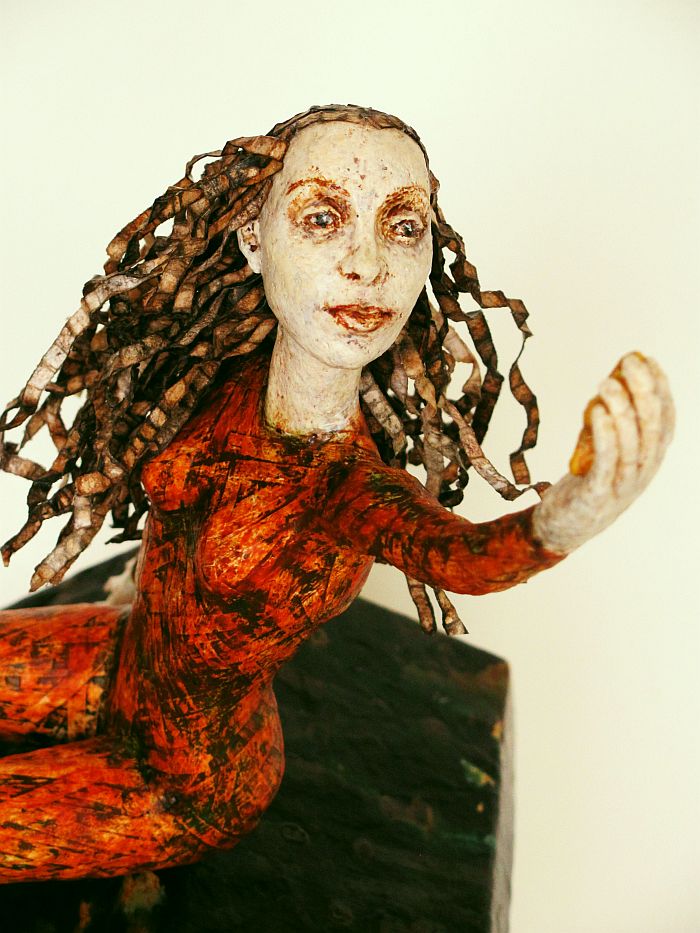
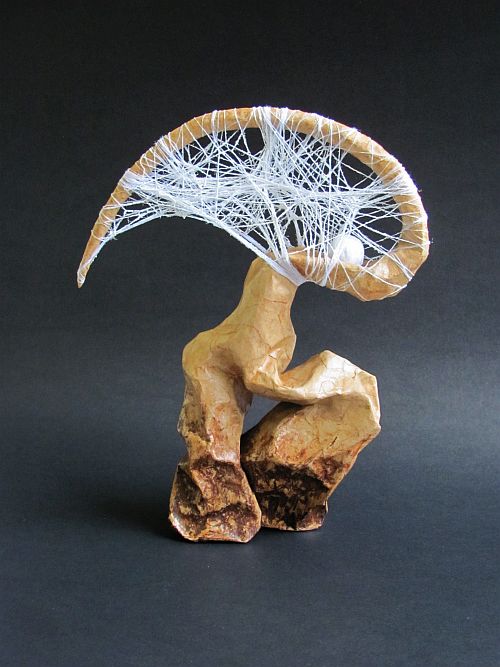
Dreamer on the Roof February 16, 2020erikatakacs2 Comments Share this:RedditFacebookMoreTwitterEmailLike Loading...
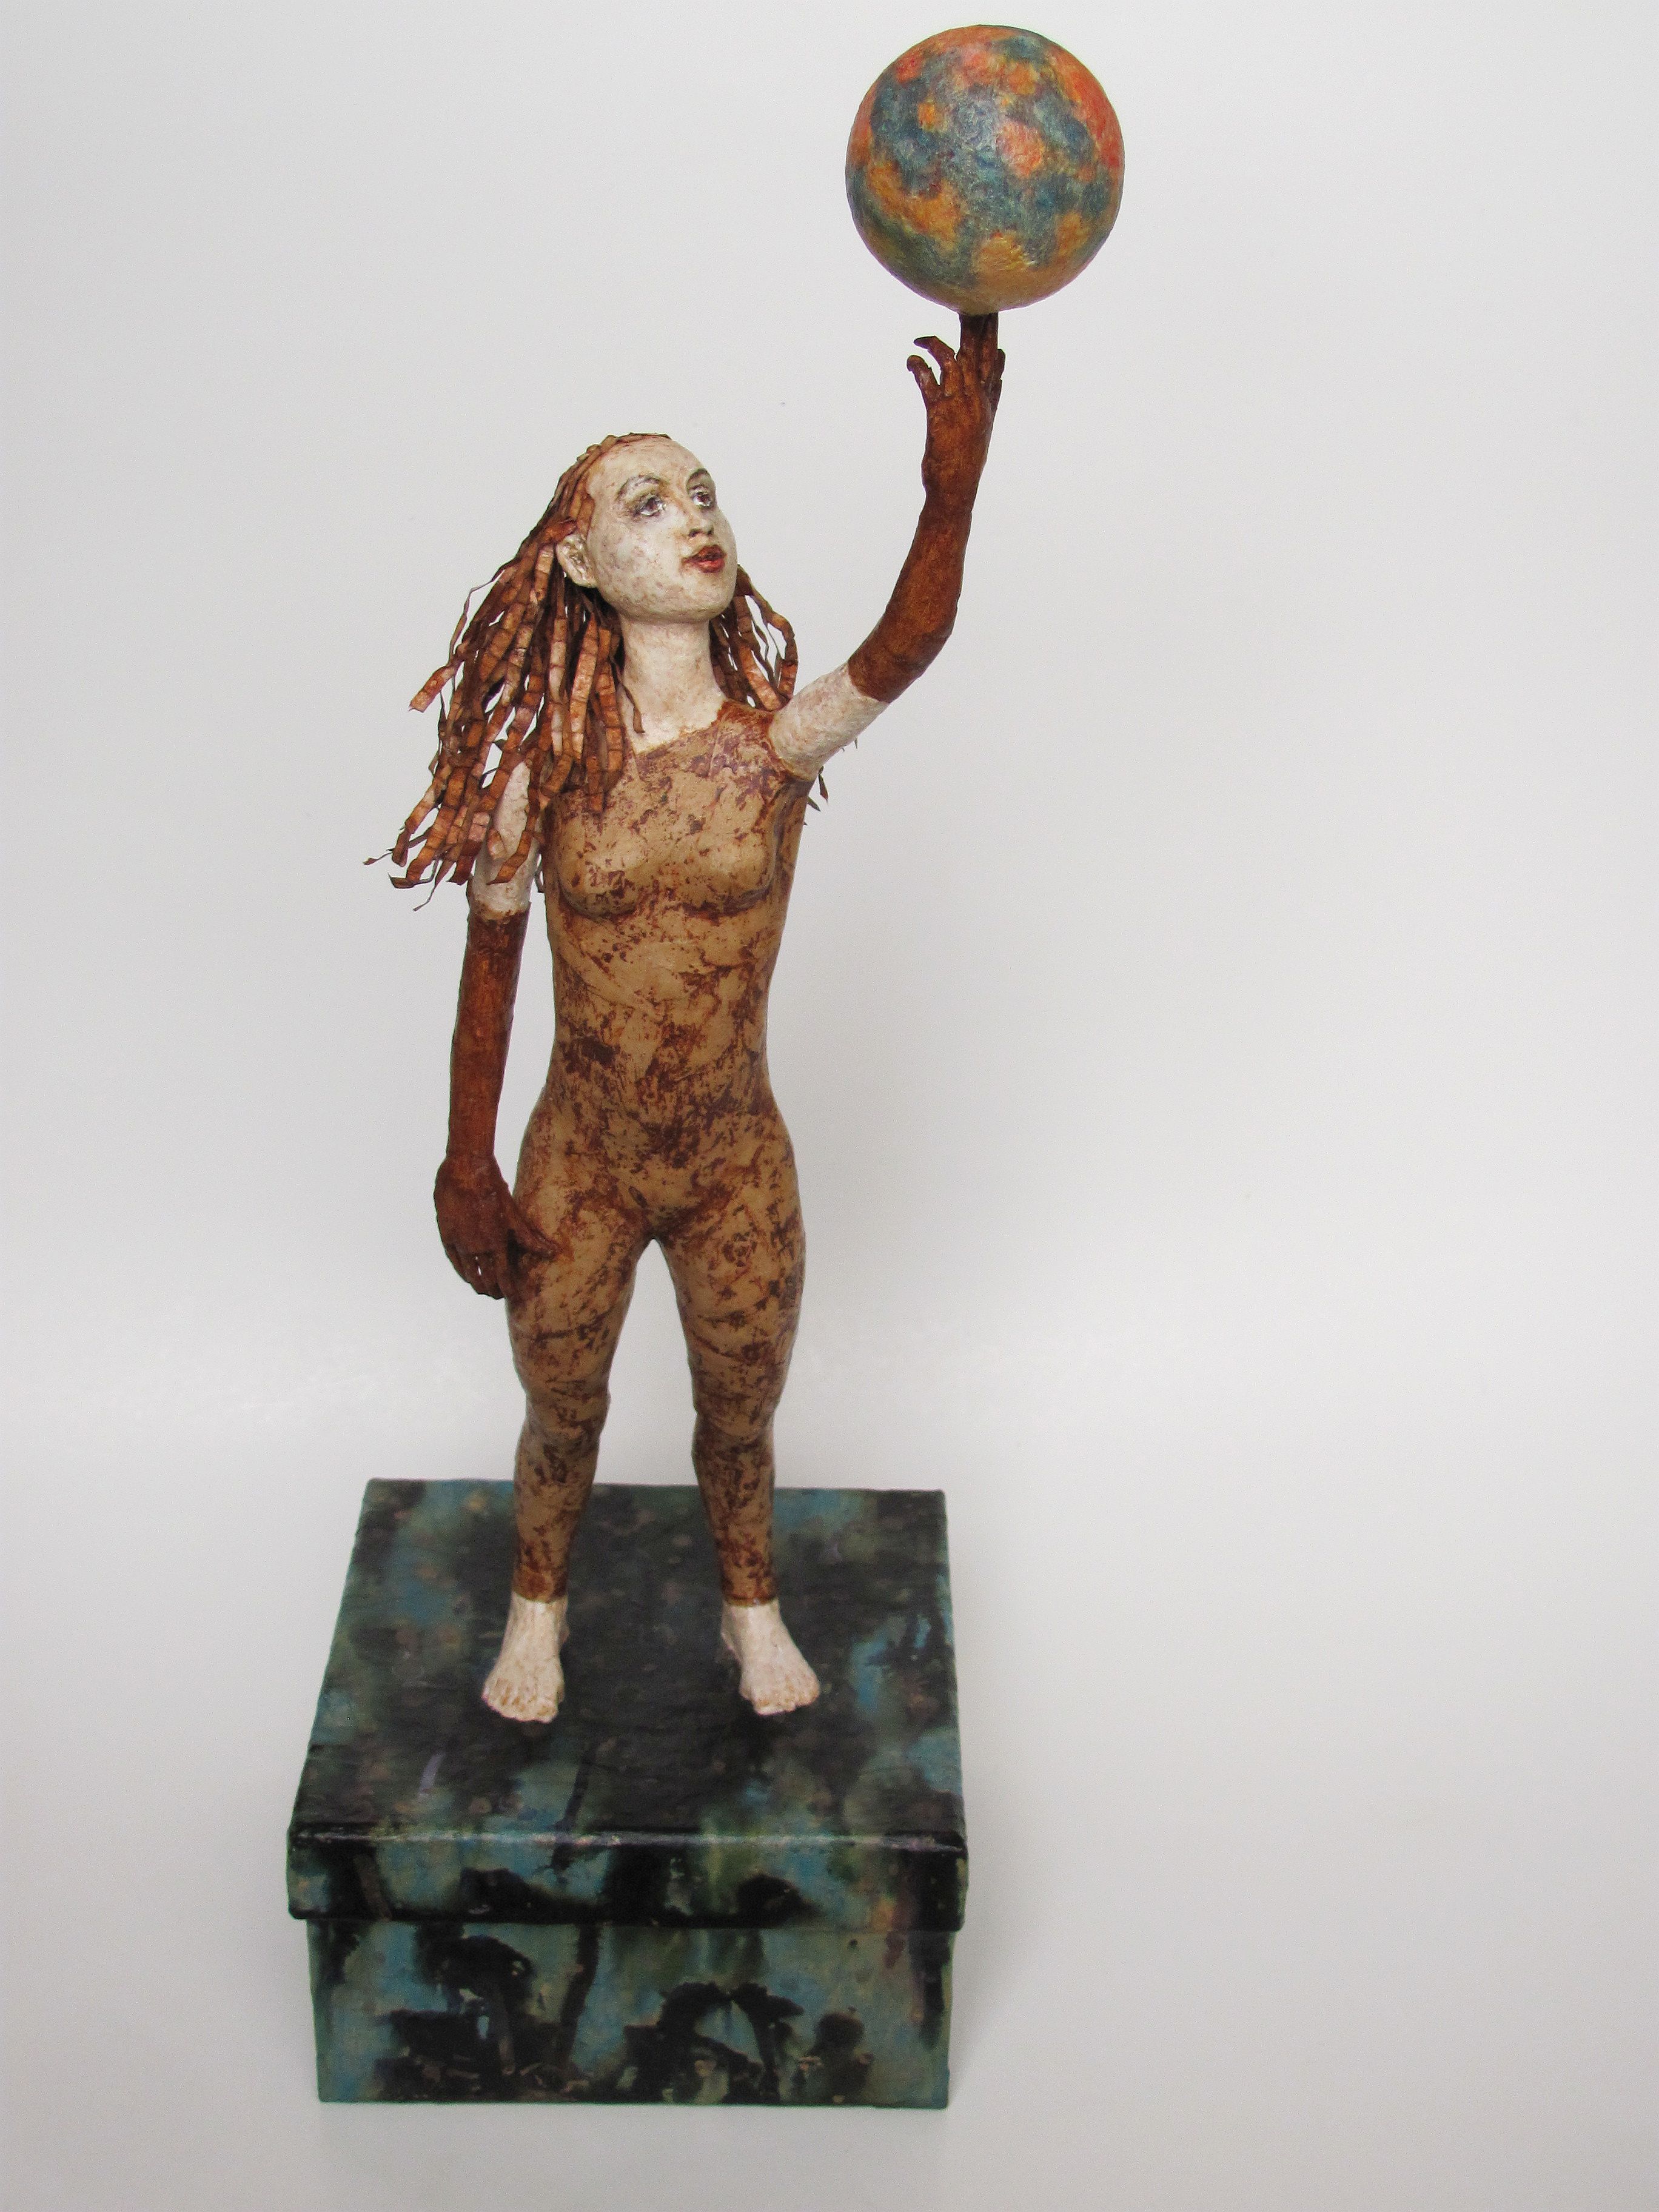
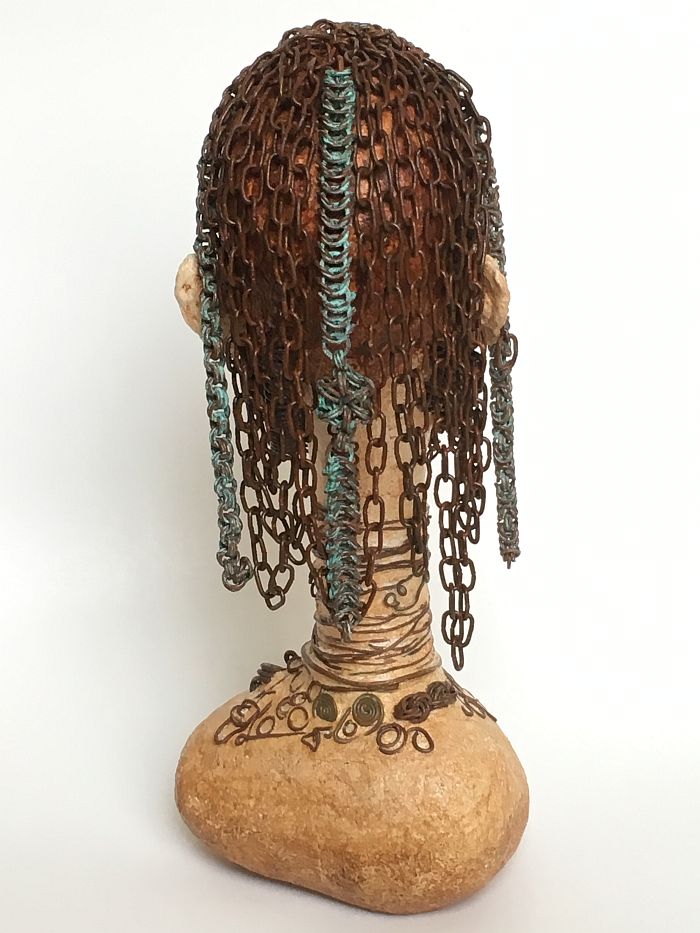
The Moon at her Fingertips February 7, 2020erikatakacs1 Comment Share this:RedditFacebookMoreTwitterEmailLike Loading...
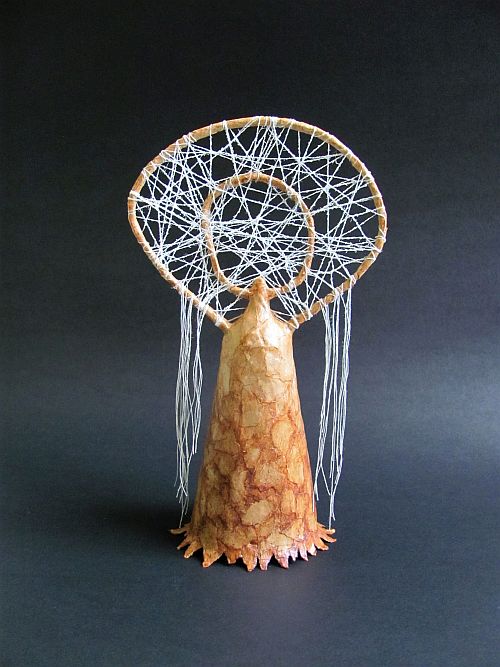
Exhibition Image February 5, 2020February 5, 2020erikatakacsLeave a comment Share this:RedditFacebookMoreTwitterEmailLike Loading...
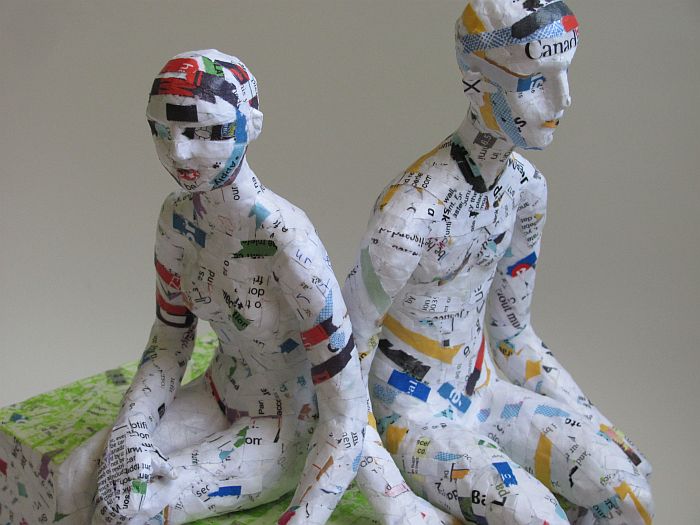
Together and Alone December 20, 2019erikatakacsLeave a comment Share this:RedditFacebookMoreTwitterEmailLike Loading...
Hippie December 10, 2019erikatakacsLeave a comment Share this:RedditFacebookMoreTwitterEmailLike Loading...
Two Mixed Media Abstracts December 7, 2019erikatakacsLeave a comment Share this:RedditFacebookMoreTwitterEmailLike Loading...
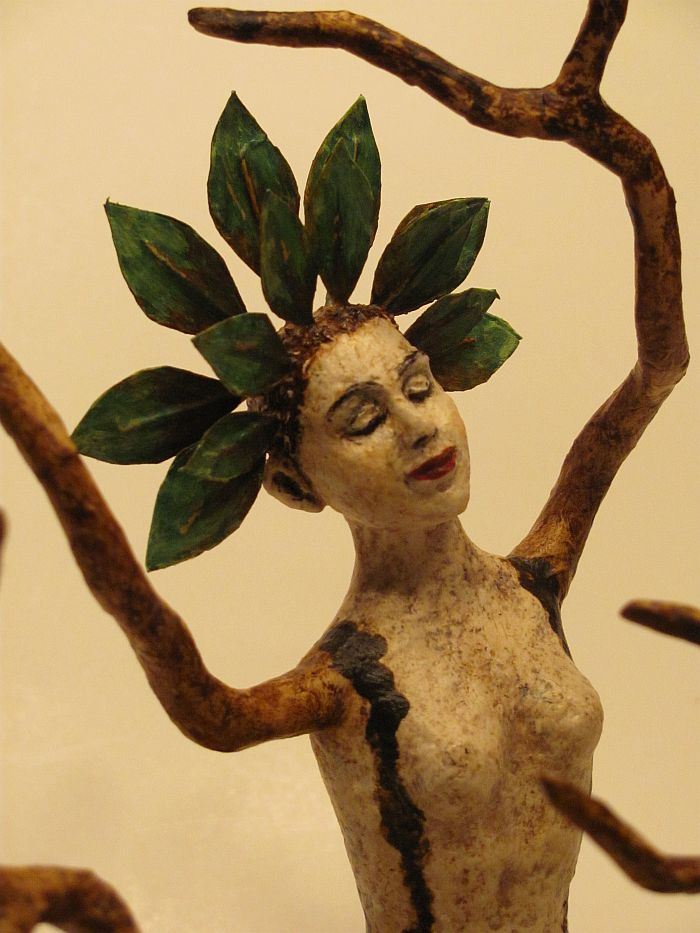
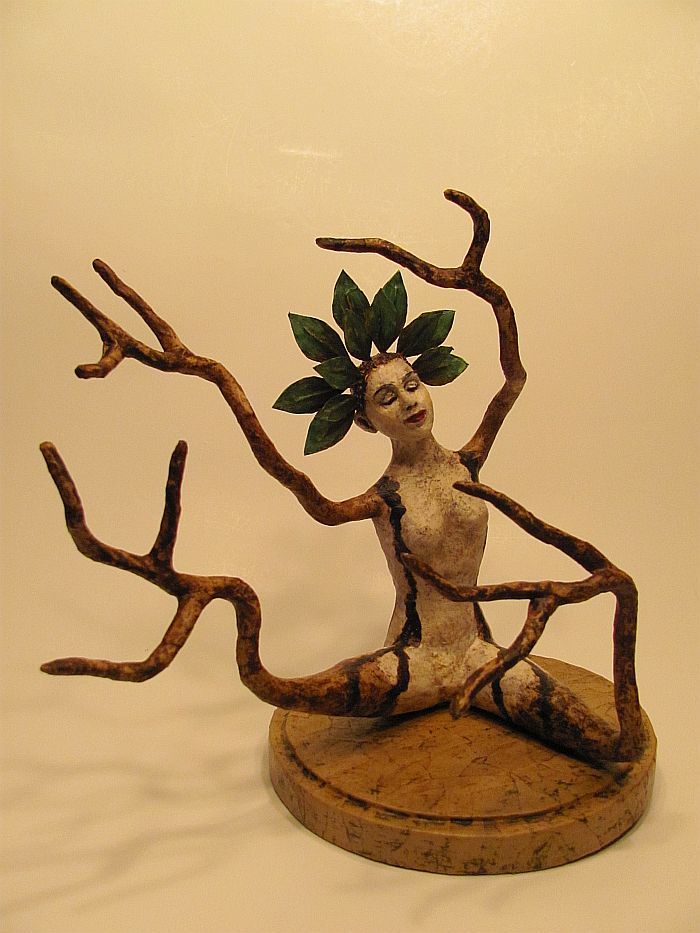
Grow November 30, 2019erikatakacsLeave a comment Never stop growing and stretching. Share this:RedditFacebookMoreTwitterEmailLike Loading...